Weekend Project: Adding AI to the Homelab

Over the weekend, I finally scratched an itch I’d had for a while: running AI in my homelab. After doing a bit of research, I settled on some decent hardware and got everything set up. With the new gear ready to go, I dove into spinning up local AI models to see what they could actually do. The whole idea was to learn, experiment and maybe even build some cool automation down the line.
The Hardware
For the hardware, I went with an Intel Core i7‑10700 CPU (8 cores, 16 threads), paired with 64 GB of RAM and NVIDIA GeForce RTX 2060 SUPER with 8 GB of VRAM. It’s not exactly a powerhouse by today’s standards, but it’s solid enough to run smaller LLMs, handle some inference and experiment with lightweight AI workloads in the homelab.
The Setup
I already have a Proxmox cluster running in my homelab (I’ll probably do a separate write-up on that later), so adding this new node felt like the natural choice to keep everything consistent. Overall, the setup was pretty straightforward — except for figuring out how to use the GPU inside a VM. I wanted the flexibility to run completely unrelated experiments (or even spin up a virtualized Windows VM to game a bit) without messing with my main environment. That meant setting up hardware passthrough so the VMs could get direct access to the GPU when needed.
Step-by-Step Implementation
1. Installing Proxmox VE on Bare Metal
I won’t go too deep into the actual install process itself since there are plenty of great tutorials already out there. Personally, I found this video by Techno Tim really helpful.
Here’s what I made sure to check and tweak before and after installing Proxmox:
-
Checking BIOS settings:
- I enabled virtualization extensions (VT-d for my Intel CPU; it’d be AMD-Vi if I was on AMD). This is key for GPU passthrough. You might want to check and enable any other similar passthrough-related setting on your BIOS when doing this.
- And just for convenience, I enabled “Power On after Power Loss” so the node automatically comes back online after a power cut.
-
After installing Proxmox and updating the system, I configured GRUB to enable IOMMU:
- I edited
/etc/default/gruband updatedGRUB_CMDLINE_LINUX_DEFAULTto:"quiet intel_iommu=on iommu=pt"for my Intel CPU
(Or you’d use"quiet amd_iommu=on iommu=pt"for AMD.)
- Saved the file and ran:
update-grub - Then added the following content to
/etc/modules:vfio vfio_iommu_type1 vfio_pci vfio_virqfd - To stop Proxmox from loading GPU drivers on boot, I added this list to
/etc/modprobe.d/blacklist.conf:blacklist radeon blacklist nouveau blacklist nvidia blacklist snd_hda_intel - Finally, I rebooted the server to apply everything.
- I edited
-
Verifying that IOMMU is enabled:
- After reboot, I checked for the line
DMAR: IOMMU enabledby running:dmesg | grep -E "DMAR|IOMMU"
- After reboot, I checked for the line

2. Creating the VM and Adding GPU Passthrough (Ubuntu)
Once Proxmox was set up and added to the existing cluster, I created a new VM that would run Ubuntu and use the GPU purely for compute (not for display).
- Creating the VM:
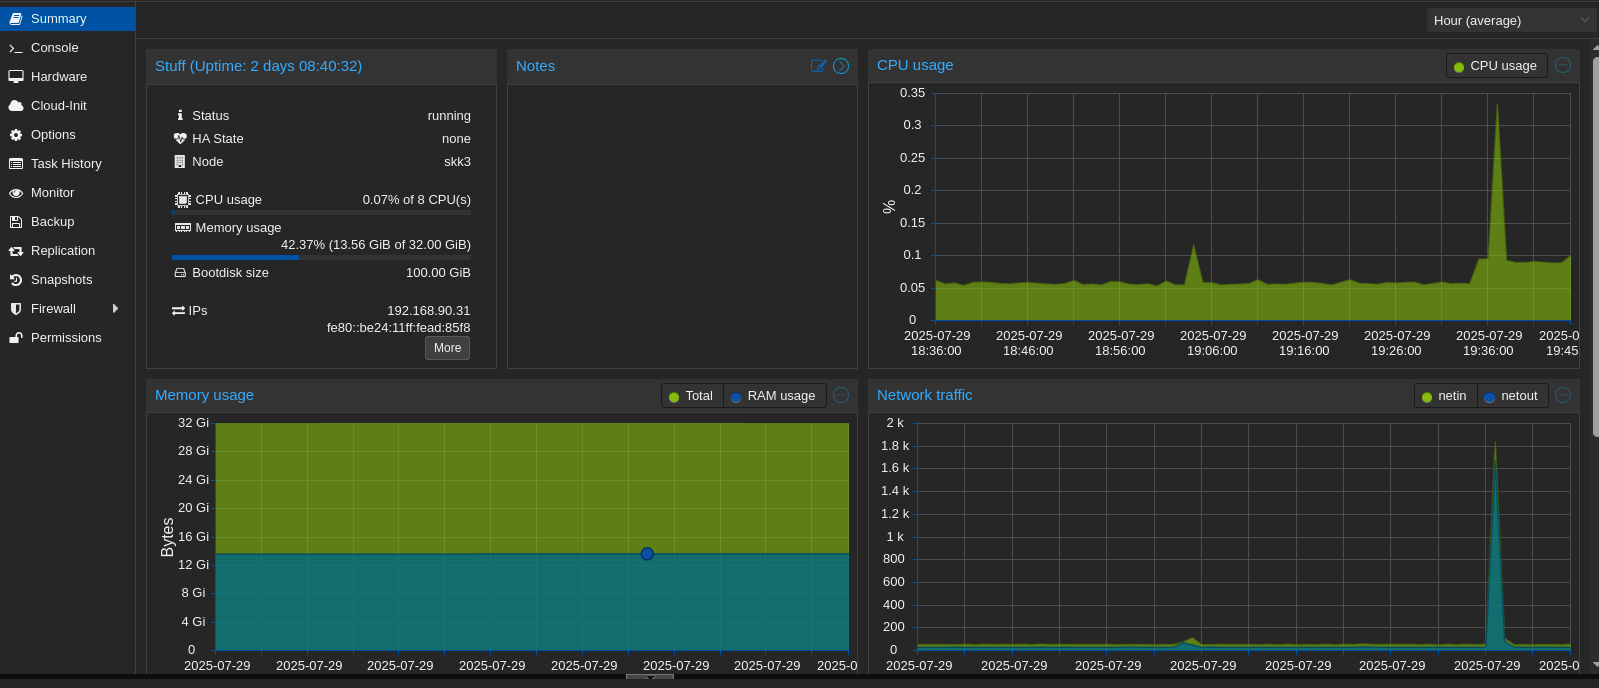
- In the Proxmox web interface, I created a new VM and chose Ubuntu 24.04 LTS as the OS.
- I selected UEFI BIOS (OVMF) for better compatibility.
- Gave it 8 CPUs, 32GB RAM and 100GB of Storage.
- Adding the GPU:
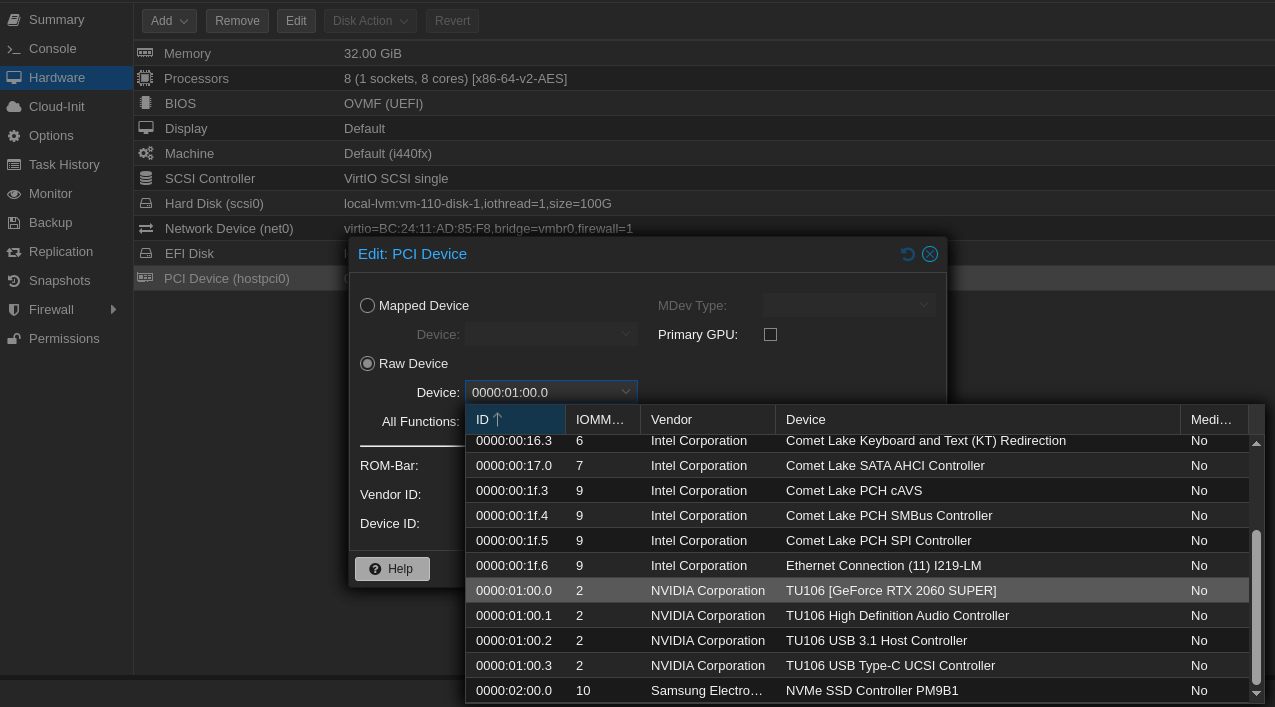
- After creating the VM, I added the GPU in the Hardware tab.
- Since the GPU wasn’t meant for display, I made sure not to check “Primary GPU.”
- I left “All Functions” checked to passthrough the whole device properly.
-
Installing Ubuntu:
- I installed Ubuntu as usual, using the default virtual display provided by Proxmox.
-
Inside the Ubuntu VM:
- I did the usual post-install steps; installing updates and the necessary packages
- Then installed the NVIDIA drivers:
Checked the recommended drivers for my hardware:ubuntu-drivers devices
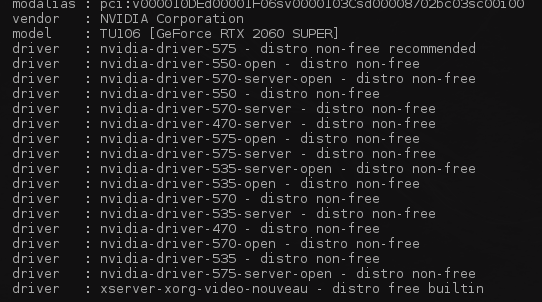
- Then installed the recommended driver and nvidia tools:
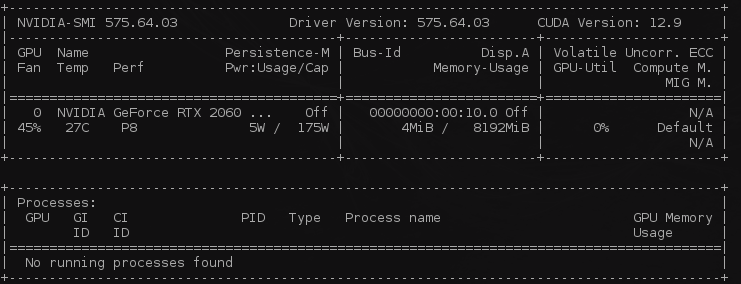
sudo apt-install nvidia-driver-575 nvidia-prime - Finally, I checked if the GPU showed up:
nvidia-smi - Seeing my GPU listed confirmed that passthrough was working.
3. Running AI Workloads
With the VM running and the GPU showing up, I wanted to get a real test going.
I decided to try out Ollama, which makes it pretty easy to run local LLMs — in this case, LLaMA 3.
Here’s what I did step by step:
-
Install Ollama
I used their official script and then checked the version to confirm it installed correctly:curl -fsSL https://ollama.com/install.sh | sh ollama --version -
Run LLaMA 3
I pulled the model first, then ran it:ollama pull llama3 ollama run llama3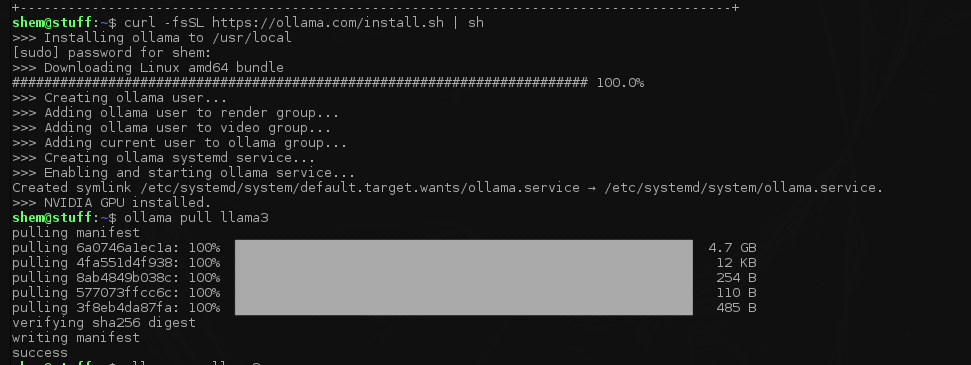
-
Test a prompt
And just like that — it runs!
The clip below hasn’t been sped up, so you can see the real-time response.
4. Setting Up Open WebUI
After getting the basics running, I wanted a nicer way to chat with the models instead of just using the CLI.
I set up Open WebUI using Docker in Portainer
Conclusion
All in all, this weekend project turned out to be both fun and surprisingly practical.
I got to see what it actually takes to run LLMs locally, learned a bit more about GPU passthrough in Proxmox, and ended up with a setup that I can keep improving over time.
It's not the most powerful rig out there, but it’s enough to experiment, break things and learn without relying on cloud credits.
Next up, I’m thinking about adding more models, trying some fine‑tuning or even wiring up automations that use local AI as the backend.