Back in part 1, I laid the groundwork by talking about the hardware that makes up my homelab. In part 2, I moved on to networking and how I got all the pieces talking to each other.
This post picks up from there and shifts focus to the next layer—virtualization and the software I run on top of it. From Proxmox and VM templates to containers, and the services I rely on every day, this is where the homelab starts to feel alive.
Proxmox VE as the Base
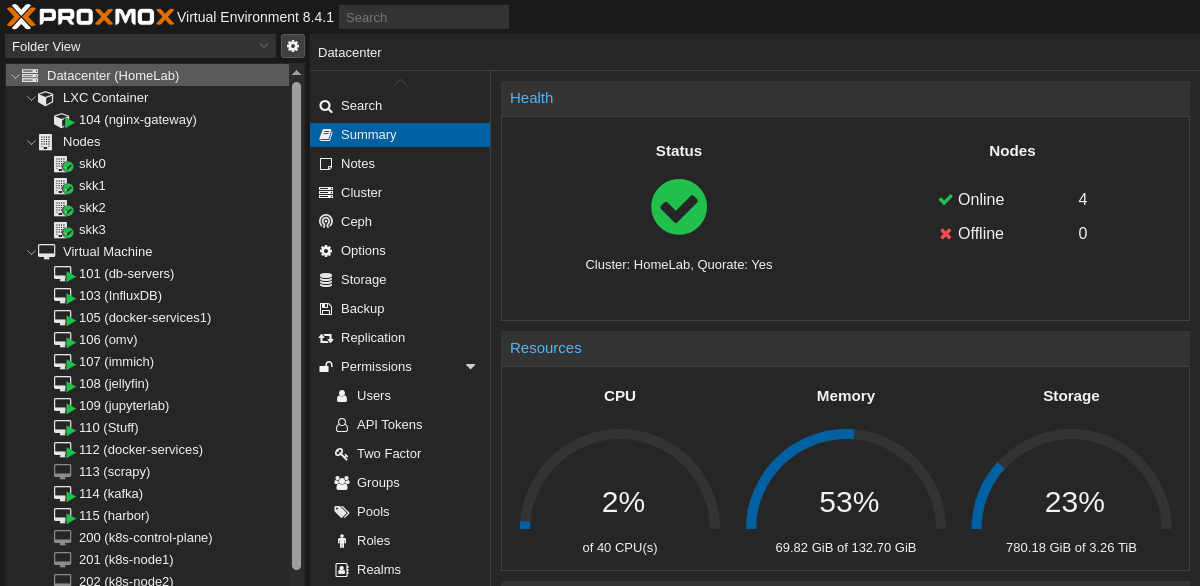
At the heart of my homelab is Proxmox VE. Proxmox is an open-source virtualization platform built on Debian Linux that combines KVM for virtual machines and LXC for lightweight containers. It’s basically my control tower—I use it to create, manage, and monitor all the workloads in the cluster.
I went with Proxmox mostly because it’s open source, well-documented, and widely used in the homelab community. The web interface makes managing VMs straightforward, but under the hood it’s still Linux, so I can drop into the shell and script things when I want more control.
One of the strongest features is clustering. All my nodes are joined together in a Proxmox cluster, which means I can manage them as one unit. From a single dashboard, I can see every VM, container, and resource across the lab.

Clustering also opens up options like migrating VMs between nodes if I need to free up resources, or even setting up high availability (though I haven’t gone down that rabbit hole yet). For now, it’s enough that I can grow the homelab incrementally by just adding another node and joining it to the cluster.
Another thing I appreciate is storage flexibility. Proxmox lets me mix and match different backends—local disks, NFS shares, or even Ceph if I wanted to go distributed. Right now I’m keeping it simple with local storage plus some network shares, but it’s nice knowing the platform scales with me.
VM and Container Setup
Most of the services in my homelab run on Ubuntu Server. It’s lightweight, stable, and familiar, so it makes a solid default. That said, I’ve had my share of fun experimenting with other operating systems too—everything from Kali Linux for security testing, to Tails for privacy experiments, to Windows 11 when I needed a more desktop-like environment, and even Windows 98 just for the nostalgia factor. Proxmox makes it easy to spin these up as one-off VMs whenever curiosity strikes.
The first time I set up a VM, it was the classic approach:
- Download an ISO from the official website.
- Create a new VM using that image.
- Go through the installer just like you would on bare metal.
- Once installed, install the basic packages (like sshd for remote access) and tweak the settings.
That worked fine, but it also meant repeating the same process each time I wanted a new Ubuntu VM (well, except for the ISO download part). After a few of those, I realized I needed something more efficient.
That’s where VM templates came in. Instead of doing a full install every time, I built a base Ubuntu VM, configured it with the packages I always use, and then turned it into a reusable template. With cloud-init baked in, I can now clone that template, assign resources, set the hostname, and have a working VM up in minutes. Techo Tim has a good tutorial on this.
Running Apps
Once I had the VM side of things figured out, the next step was actually running applications inside the homelab. This is where I went through a bit of a journey—starting with Kubernetes, then eventually simplifying things with Docker and Portainer.
My Kubernetes Experiment
One of the first “big ideas” I had for the lab was to run a Kubernetes cluster. I spun up an Ubuntu VM on each of my three Proxmox nodes and installed Kubernetes manually. It was a great way to learn the ropes: I deployed small apps, tested scaling, and got hands-on with rolling updates.
But after a while, reality set in—Kubernetes was complete overkill for my use case. I’m not hosting large-scale web applications, and the complexity of managing Kubernetes just didn’t make sense for a homelab that’s more about experimentation than production workloads.
Still, I don’t consider it wasted effort. It taught me how Kubernetes works under the hood, and that knowledge has been useful at work and in side projects. But for the homelab? It was time to downshift.
Switching to Docker + Portainer
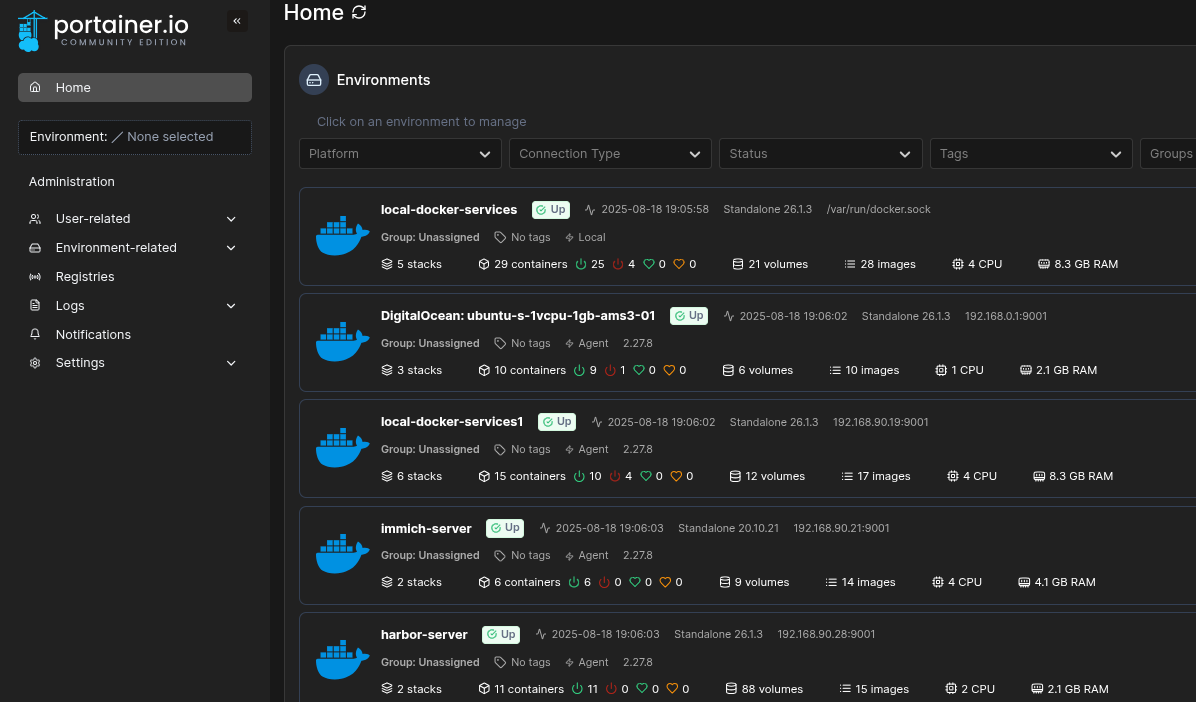
After tearing down Kubernetes, I switched to Docker for containers and manage them with Portainer. Docker is simple: one command pulls an image and runs a container, and Portainer adds a friendly web UI on top that makes it easy to keep track of what’s running where. I also get to manage Docker running on multiple hosts from one interface.

For my setup, Docker + Portainer hits the sweet spot. It’s lightweight, flexible, and doesn’t get in the way. I can spin up apps on demand, shut them down when I’m done, and keep the whole homelab tidy without drowning in YAML configs.
Dedicated VMs for Heavy Lifters
Not every workload makes sense to run in Docker. Some services are resource-hungry, stateful, or just finicky enough that I prefer to give them their own dedicated VM. In my homelab, these include:
-
MariaDB, PostgreSQL, and Redis – My go-to databases for different projects. Each has its quirks, so isolating them avoids messy conflicts.
-
InfluxDB – A time-series database I use for metrics and logging experiments.
-
Kafka – A distributed event streaming platform. Honestly, this one is mostly for tinkering and learning, but it’s fun to have running.
Self-Hosted Apps
On top of that foundation, I’ve added a mix of self-hosted apps that I use regularly:
-
Firefly III – A self-hosted personal finance manager. I use it to track expenses, budgets, and basically replace what I’d otherwise rely on cloud finance apps for.
-
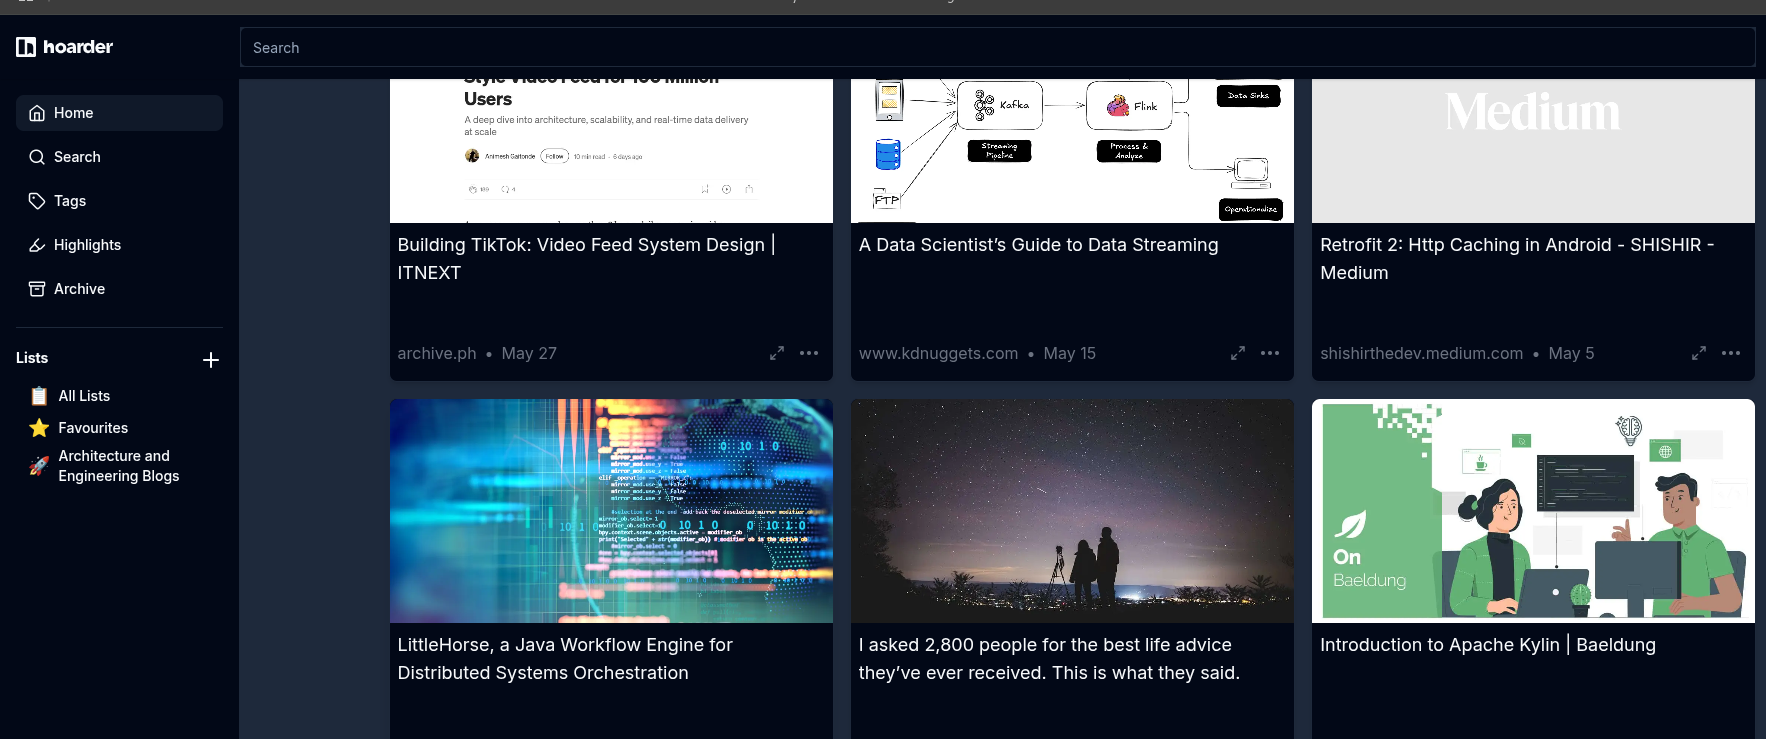
Karakeep(formerly Hoarder) – A “bookmark-everything” app. I save links, articles, screenshots, and docs with tags/search so I can find them fast later.

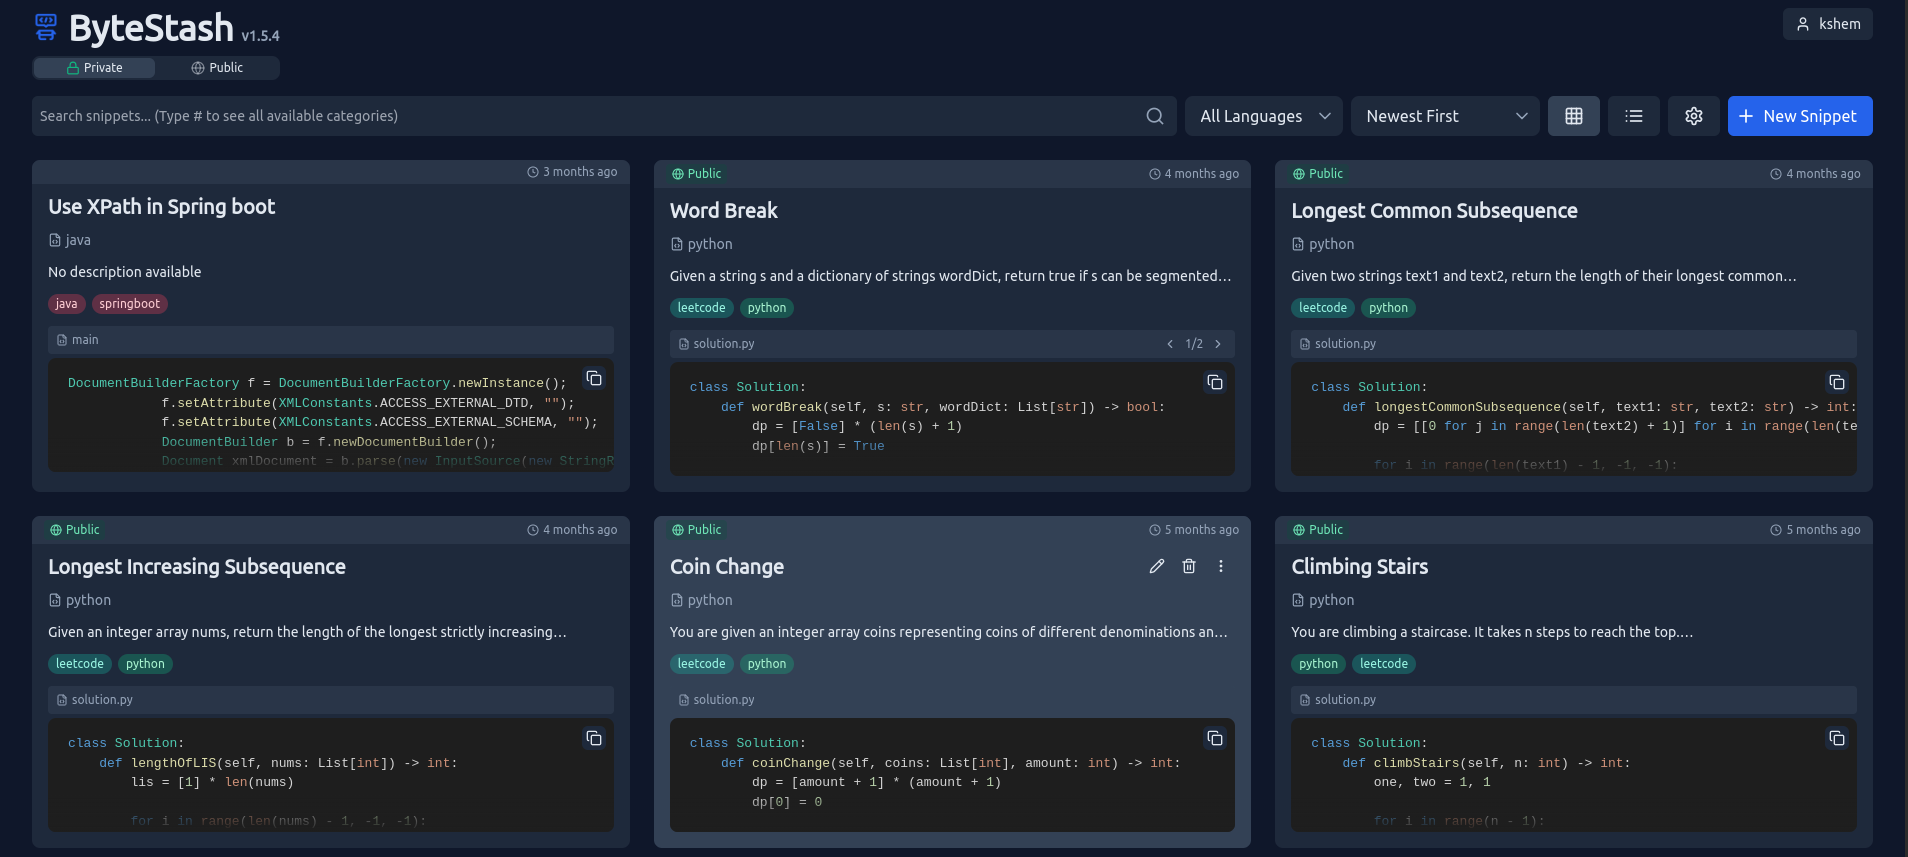
- Bytestash – A code-snippet vault. I organize reusable snippets by language/tags and quickly drop in one-liners, Docker/Compose fragments, or SQL I revisit often.

-
Immich – Photo and video backup, similar to Google Photos but fully self-hosted.
-
Harbor – A private container registry where I keep images I don’t want to pull from public sources.
-
JupyterLab – My environment for Python experiments, quick data analysis, or notebook-style projects.
-
Jellyfin – My media server of choice for streaming movies, TV shows, and music.
-
Servarr stack – A bundle of tools (Sonarr, Radarr, etc.) for managing and automating media downloads.
Together, these apps are what make the homelab feel alive. Some are purely practical (databases, registries), while others are more about enjoyment (media servers, photo backup). The combination means I get both utility and fun out of the setup.
Dashboard and Access
With so many services running in the homelab, I needed a way to keep them all organized and easy to reach. Memorizing IP addresses and ports gets old fast, so I set up Homepage dashboard that acts as a central launchpad.
It’s a clean web page with tiles for each app—Jellyfin, Firefly III, Portainer, Immich, and everything else I regularly use. One glance, one click, and I’m where I need to be.

To make things even smoother, I paired the dashboard with Pi-hole DNS. On top of blocking ads and trackers across the network, Pi-hole lets me set up local DNS records. That means instead of typing something like 192.168.1.55:8096, I can just type jellyfin.local in the browser.
It might sound small, but that shift makes the homelab feel polished—almost like using a proper cloud service. No IP juggling, no “what port was that again?” moments, just simple names that work everywhere in the house.
Reflection
What I like most about this stage of the homelab is how it blurred the line between tinkering and daily use. It stopped being just a playground and became something I genuinely depend on. That balance—useful, but still fun to break and rebuild—is what keeps me coming back.
Up next in part 4, I’ll dive into monitoring and observability—how I keep an eye on what’s running and catch issues before they turn into problems.